Using the Resident Portal
Sign in to the appropriate Resident Portal using the username and password used to register. To register, visit
Online Application Instructions for step by step instructions.
To access the Housing Choice Voucher Resident Portal:
All other residents will access their Resident Portal by searching for a specific property:
Get the Resident Portal on your smartphone Download
the RENTCafe Resident app
![]()
![]()
AUTO-PAY SETUP
Note: When you renew your lease, you will need to adjust your monthly amount.
-
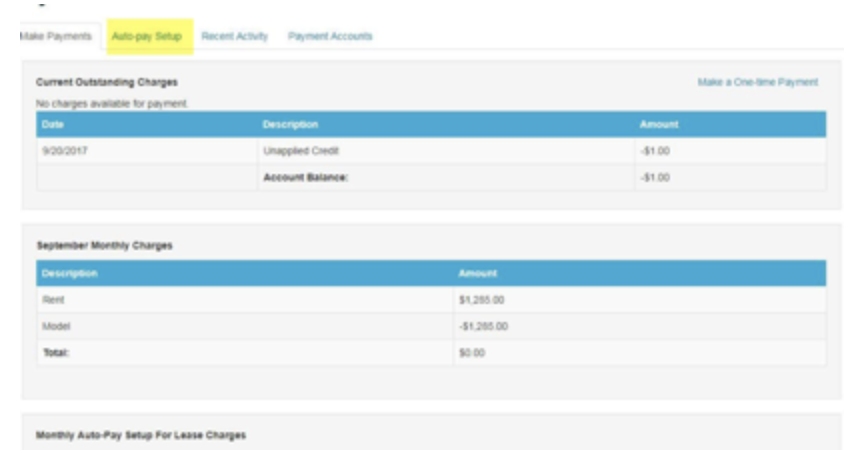
Under the “Auto-Pay Setup” tab you can set your preferences to automatically make recurring payments.

-
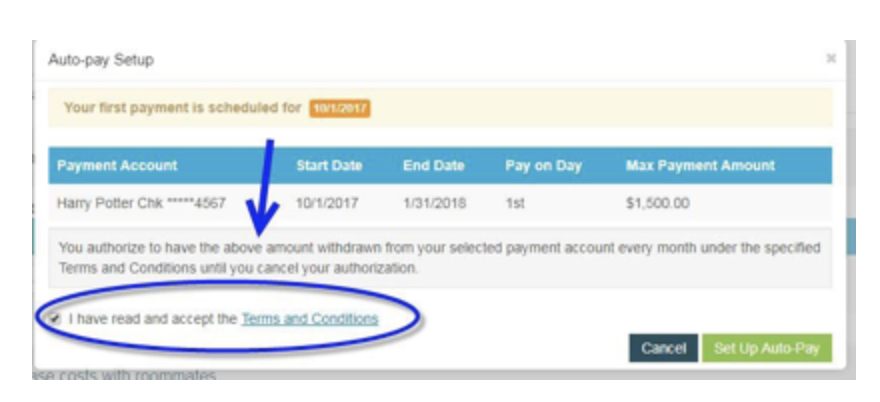
Review the terms and conditions, then check the box and click the “Set Up Auto-Pay” button.
-
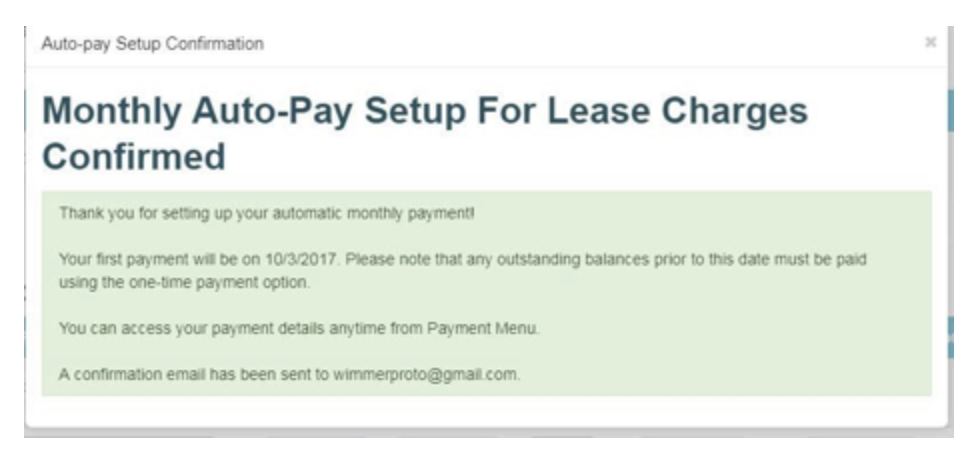
The following confirmation will pop up:

Note: This screen confirms that you made a one-time payment request. It does not guarantee that the funds were received by Wimmer Communities. If your bank account returns with nonsufficient funds (NSF, your payment will be declined, and it will be your responsibility to pay any NSF and late fees as applicable. It’s your responsibility to have the proper funds available in your account to make online payments.
-
You can review or change your information through Resident Portal at any time by logging back into the site/app.
-
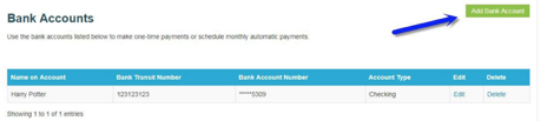
Your account information will now appear on the “Payment Accounts” screen. If you wish to set up more than one account (i.e. multiple people paying rent, you wish to split payments) you can add them here.
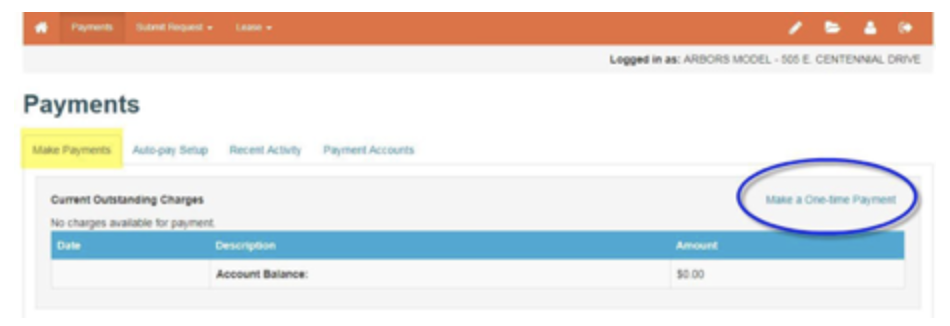
SET-UP ONE-TIME PAYMENTS
-
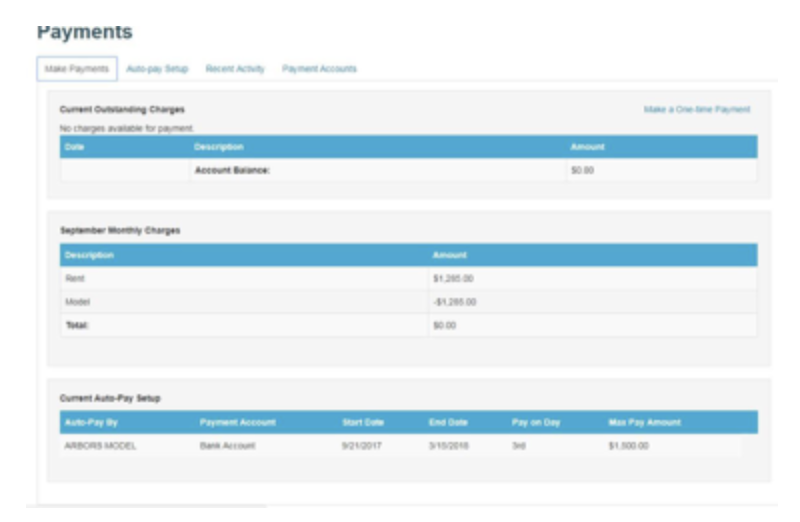
Under the “Make Payments” tab, click the link that says “Make a One Time Payment.”
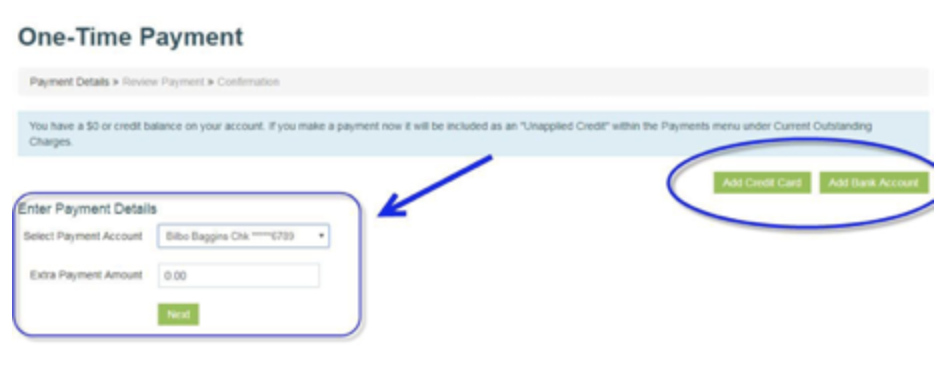
-
You can select an existing account or add a new account to pay with.
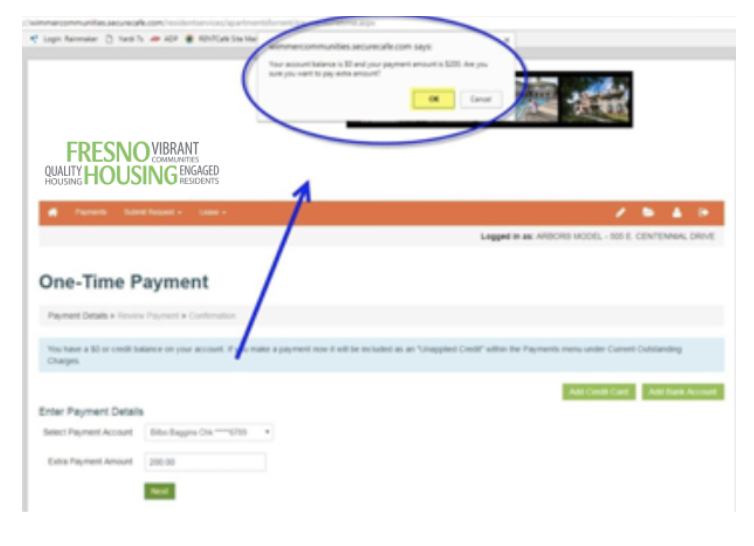
-
A pop-up will appear at the top of your screen. Review it and click the “Ok” button.
-
Review the “Terms and Conditions” and check the box. Then click the “Submit Payment” button.
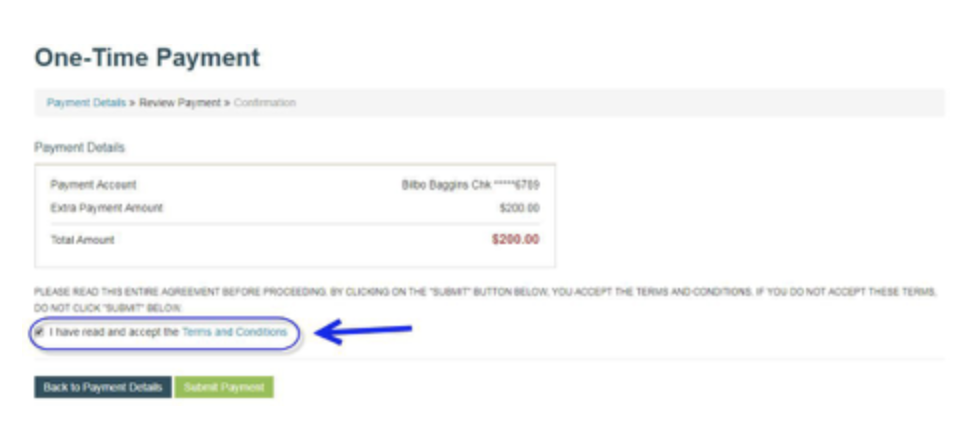
-
You will be brought to a request confirmation screen. You can print it for your records. You will also be emailed a confirmation of your request.

Note: This screen confirms that you made a one-time payment request. It does not guarantee that the funds were received by Wimmer Communities. If your bank account returns with nonsufficient funds (NSF, your payment will be declined, and it will be your responsibility to pay any NSF and late fees as applicable. It’s your responsibility to have the proper funds available in your account to make online payments.
Very important. Automatic Monthly Payments occur on the 1st of the month, unless that day occurs on a weekend, in which the payment will be made on the last business day of the prior month. You must be enrolled in Automatic Monthly Payments by 2:45 pm that day in order to be included in the Automatic Payment. If you enroll after the 2:45 pm deadline, your Automatic Payment will not post and will only be included in the next month’s Automatic Payment. In the event that you missed the deadline, please make a one-time payment.
-
Making Payments
SPLITTING AUTO-PAYMENTS BETWEEN ROOMMATES
-
On the payments screen, click the “Auto-Pay Setup” tab
-
On Auto-Pay Set-up screen, you will see two option dropdowns. Choose Option 2: Share lease costs with roommates. You can also choose to pay various other charges.

-
Review the “Terms and Conditions” and check the box. Then, click “submit.”

-
A confirmation screen will pop-up. You should also receive a confirmation email.
SUBMITTING MAINTENANCE REQUESTS
-
After logging in, click the “Maintenance” button.

-
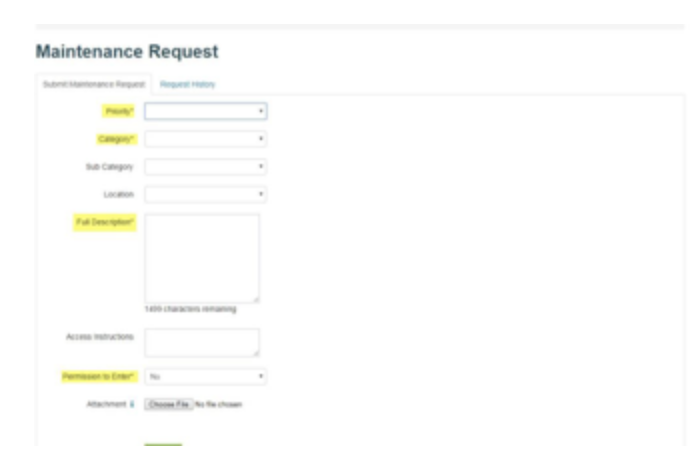
Under the “Submit Maintenance Request” tab, fill out the form. An asterisk (*) denotes required fields. Please fill out the form as thoroughly as you are able.

-
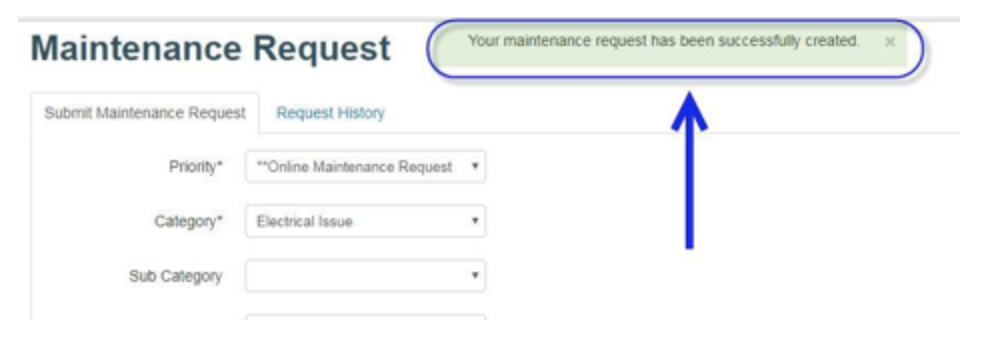
A pop-up will appear after your request has been submitted.
-
Your request will show up under the “Request History” tab.
-
Making a Maintenance Request
UPDATING YOUR PROFILE
-
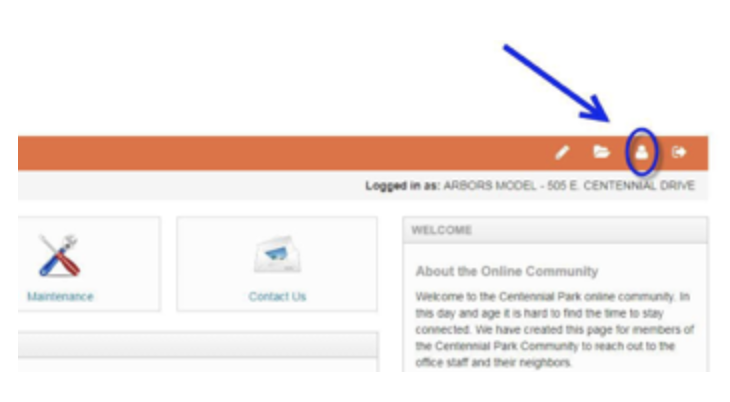
After logging in to the Resident Portal, click the icon that resembles a person in the upper right corner.
-
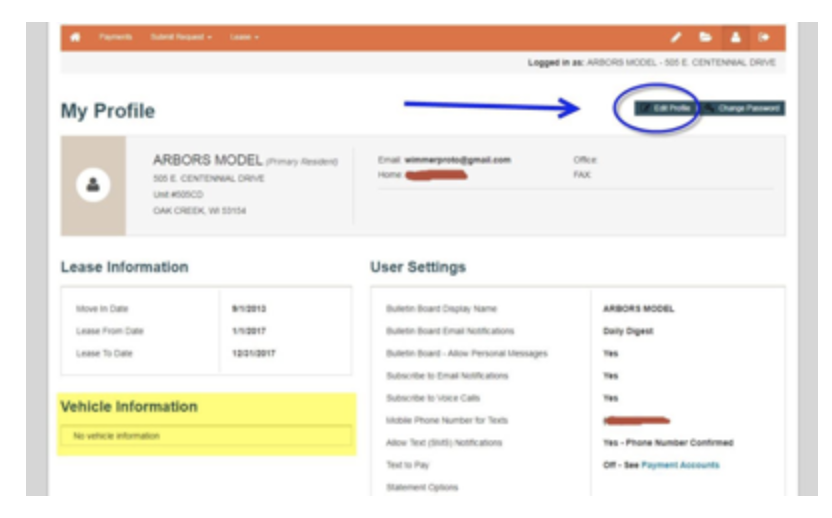
All your current information on file will appear on this screen. You can update it by clicking the “edit profile” button.
-
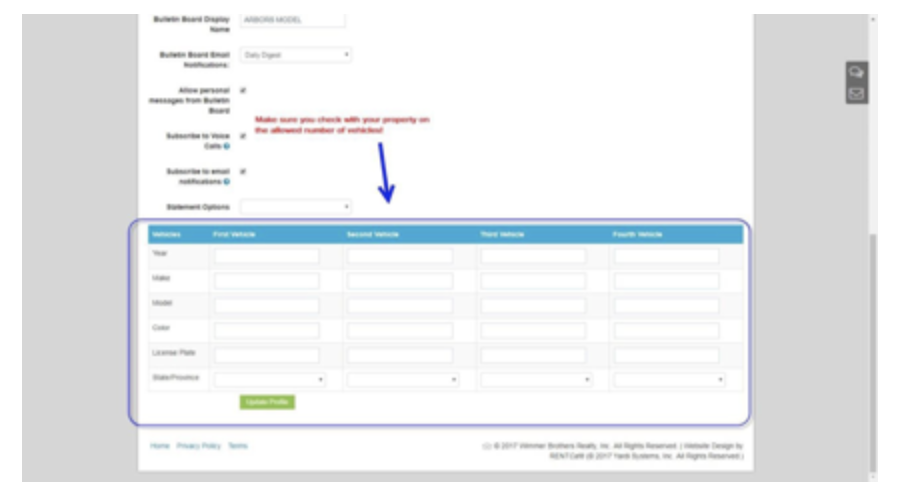
On the next screen, scroll down until you see the following:
-
Enter your information and click the green “Update Profile” button.
-
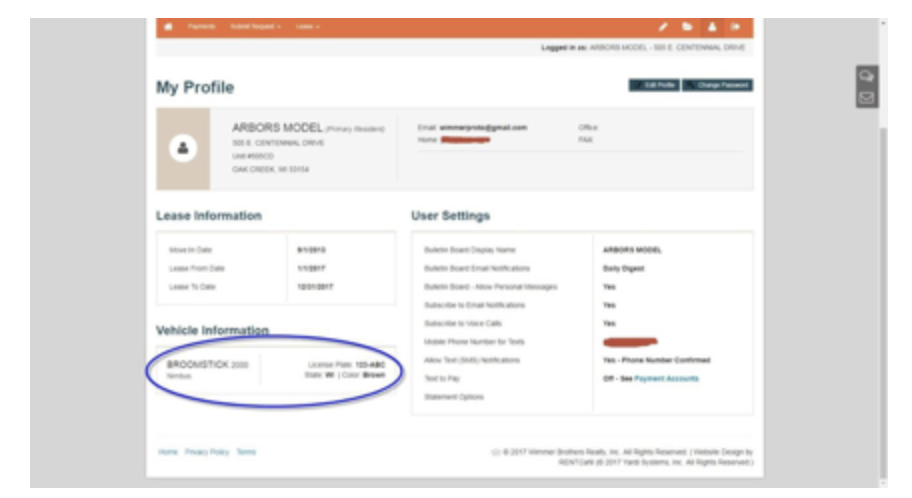
Your information should now appear on your profile page.
-
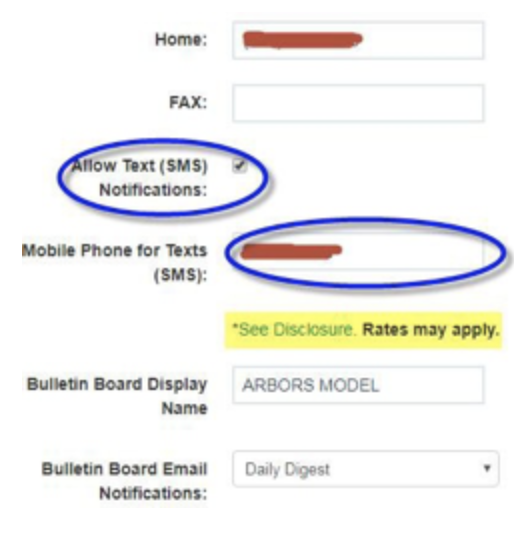
If you choose to receive these messages, you will occasionally be sent messages regarding your account. For more info, please visit http://www.yardisms.com/
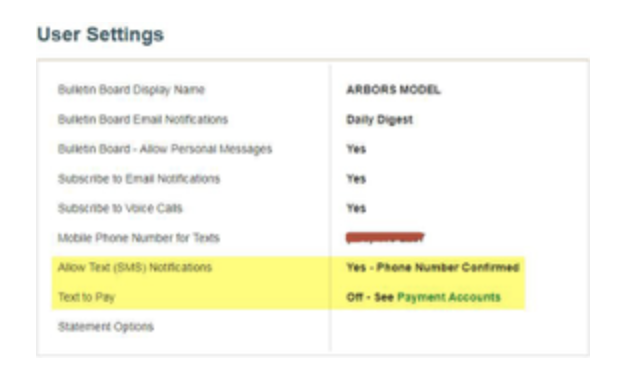
To opt-in, click the “Edit Profile” button. Under “My Profile” check the box next to “Allow Text (SMS) Notifications” and provide your mobile phone number. Please also review the disclosure.